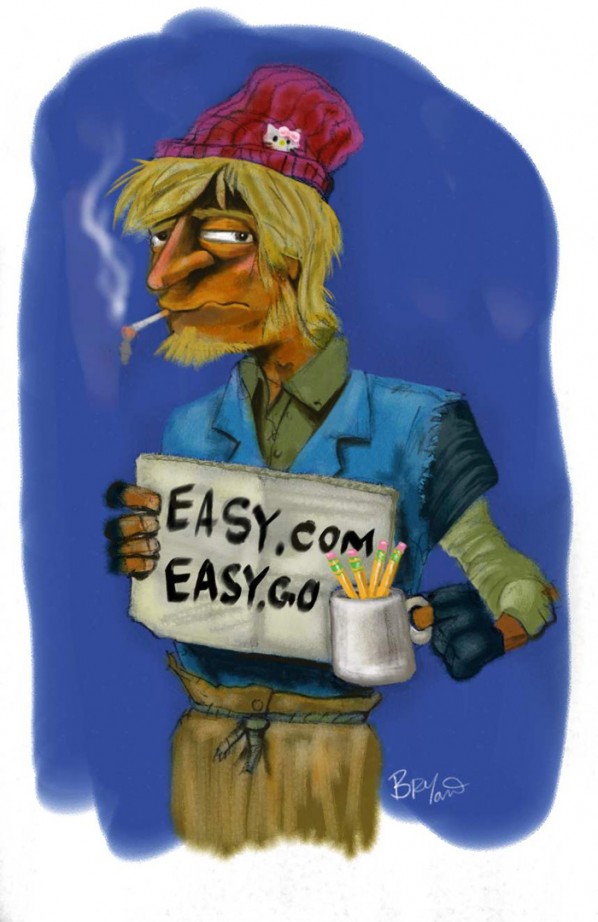
Cartoon Tutorial Easy.Com – Easy.Go Final Image
Hey and welcome to my Easy.com-Easy.go cartoon tutorial. his is a quickie sketch I whipped up at Starbucks. I’ll show you the super simple steps. The cartoon tutorial took about 15 minutes or so, but feel free to take your time.
First off, was the pencil sketch in my sketchpad. I usually use a lead holder with 6b or 4b super soft lead. I carry a click eraser but it’s not needed for sketching.
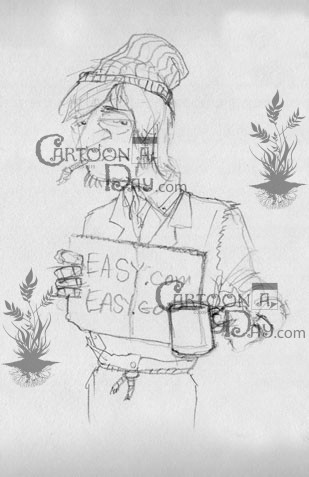
Sketchbook - Step 1 Tutorial
Okay, the sketch is finished to the level of detail I’m looking for. My plan is to watercolor this piece so heavy lines and rich detail will be obliterated by the paint anyway. A real light touch here is all that’s needed. I plug in the scanner and fire up Photoshop. Once I’ve acquired the image, (greyscale setting- 150dpi since I’m not making this piece Print resolution) I open the sketch in Corel Painter 11.
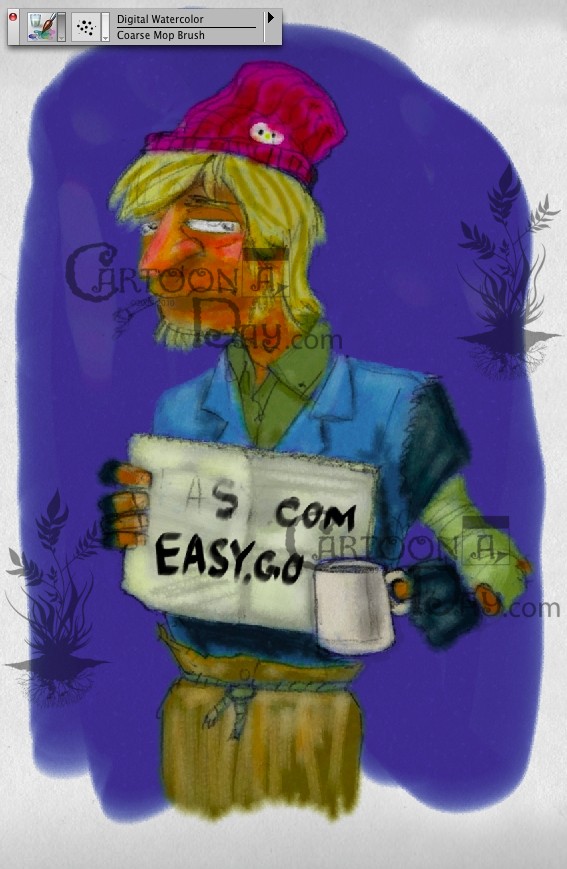
Step 2 - Watercolor Wash - Tutorial
Step 2 – Basic Wash – Tutorial
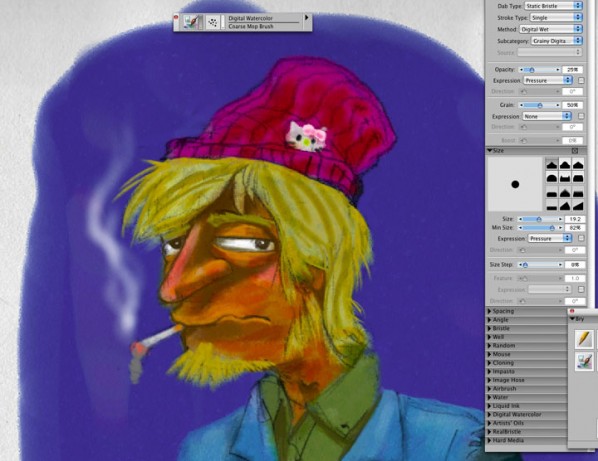
I grab a digital watercolor brush, in this case a Coarse Mop, and begin painting onto a NEW LAYER, set to MULTIPLY. I keep the opacity set to pen pressure (Using Wacom) and leave the size fixed. I dial the brush size up and down as needed. First wash is applied in the broadest strokes. I’m just looking for color balance, and subtle shading here. Nothing fancy. Notice alot of the pencil still shows through, and I decide I like the roughness of the work. Next step I’ll add the detail.
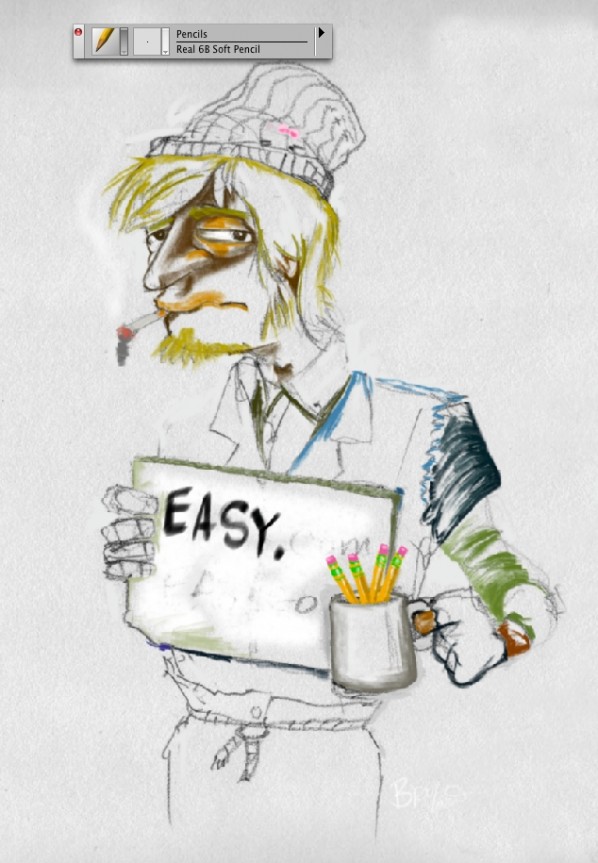
Step 3 - Detail - Tutorial
Step 3 – Detail – Tutorial
I switch to pencils, 6b soft (just like the real life one I used to create the physical sketch in the first place) and create a new layer, NORMAL setting. On its default setting, a new layer is opaque. I turn off the WASH layer so I can see the original sketch better. Doing this, I can also focus entirely on the magic elements. These elements I’ll pick to have the highest level of detail, so I can lead the eye through the image. Whatever has the most detail, also has the most importance to the viewer’s eye. I want to tell this poor soul’s story at a glance. So I treat the pencils, his scruffy beard and eyes with careful detail. I find the PENCIL to be the best in this situation.
Step 4 - Combined Detail - Tutorial
Step 4 – Combined Detail – Tutorial
Now I turn all the layers to VISIBLE. Still on the topmost layer (Pencil Layer) and with the SOFT PENCIL, I continue to add more detail. With the wash layer visible I can make sure my color choices for the fine line blend into the background, or stand out as I need them too. I only switch brushes one more time. I pick one of my favorites, ARTISTS CHALK, with opacity and size set to Pressure, and draw in some smoke for his cigarette. And Volia! All done. It’s a bit cheezy, but in the end I’m glad I wasted the 30 or so minutes it took to make the Toon and the blog. Please feel free to grab the sketch and try it yourself. I’d love to see what yo come up with!
-Bryant
More Cartoons Like This:
- Last Piece of the Puzzle Sitting down for my daily toon, i scribbled an artist...
- Sexy Backless Dress Another fun tutorial for the folks at Cartoonaday. If you're...
- Call of Duty Modern Warfare 2 Gamer Calls in Sick Yay! Xbox Call of Duty 4: Modern Warfare went...
- Undie Bomber At Home Nigerian man tries to blow up airliner with underwear Christmas...
- Egypt’s Mubarak Stubborn Political Cartoon See all Bryant’s “Crisis in Egypt” Political Cartoons Collection Egypt’s...


