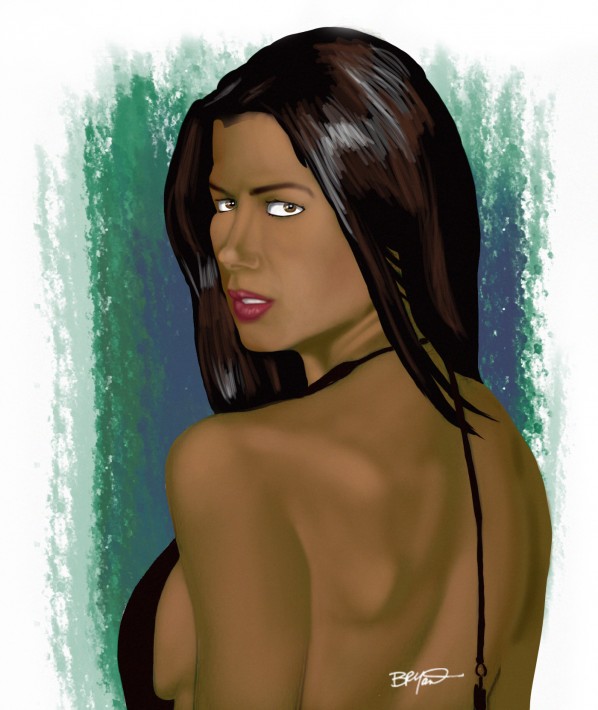
Another fun tutorial for the folks at Cartoonaday. If you’re interested in how to build your own beauty, read on!
Step 1 – Sketch
Find yourself some reference photos or art. You may want to cobble together a few photos, or you may find one that’s interesting and challenging enough to paint. Now that you’ve been sidetracked and missing for days surfing the web for beautiful women… grab a pencil and paper and sketch her up. I used 2 lead holders with 4H lead and 6B lead. The hard one is obviously for light strokes, working with shapes without committing. When you near what you’re after, lock it down with strong, clear strokes. If you’re working with true traditional media (Pencil and Paper) plug in the scanner and get it digital.
I Use this blurb for all my scanning notes: (tastelessly copied and pasted here) : As usual, I scanned it at around 200 dpi. I prefer good resolutions to begin with (300dpi for print) because you never know when one of your daily trash drawing will be a hit. You don’t want to have to redraw the image at a higher resolution. Also keep in mind, the higher the resolution, the slower your programs run, and the slower your complicated brushes will draw. 72dpi is perfect for web-only and experiments.
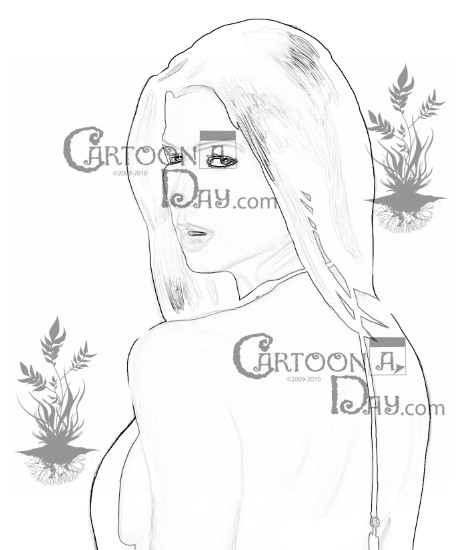
Step 1 - Sketch Sexy Backless Dress
Step 2 – Color
Now it’s time to pick a style and an application. As you can see from the final image above, I’m going for an airbrushed, semi-photorealistic image. Photoshop will do this nicely for me. Make a NEW LAYER, set to MULTIPLY. Leave the COLOR layer above your lineart. I’m using an opaque brush, size set to Pen Pressure, and I chose a dark brown to start with. I hid the lineart layer so you can see what’s going on.
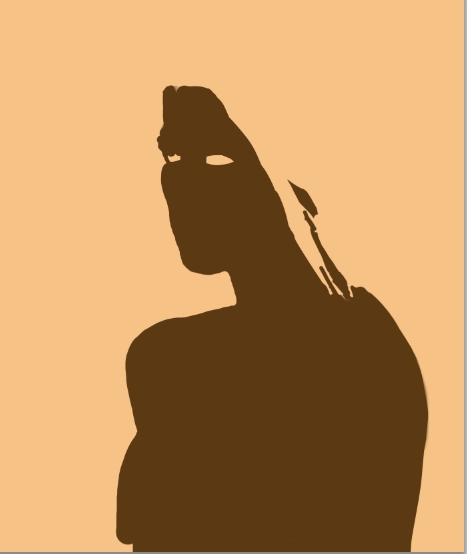
Step 2 - Color Sexy Backless Dress
Step 3 – Shading
NEW LAYER > Set to NORMAL. In Photoshop, normal layers are opaque, but I want subtle gradations in her skin. So my next brush is a standard SOFT MECHANICAL, opacity set to pen pressure. I sample the dark brown I first used, and slide my color picker up and down for lighter and darker shades of the same color. This is a bit like airbrushing if you’ve ever used the compressed tool. If not, imagine bug spray. Again, I hid the other layers so you see only this step.
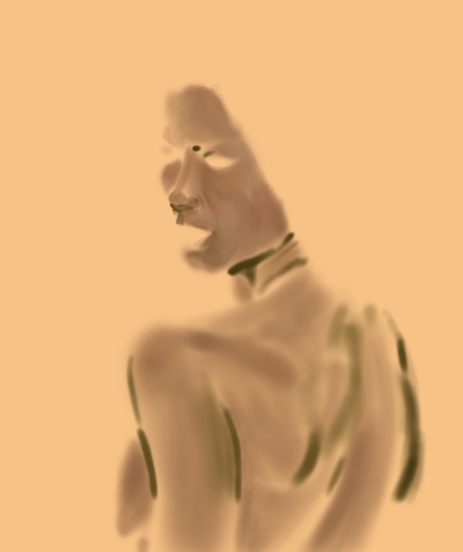
Step 3 - Shading Sexy Backless Dress
Step 4 – Detail Pass 1
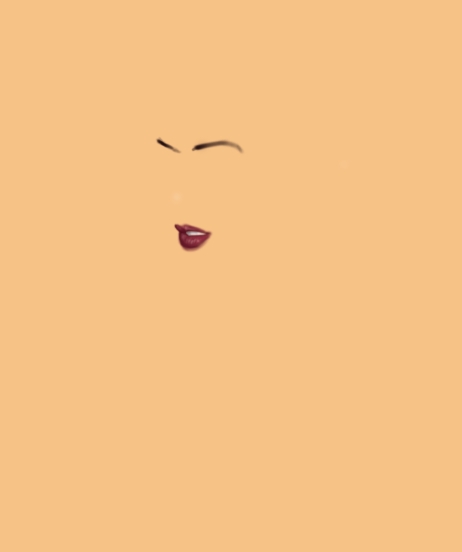
Ah lips…need I say more? Make a new layer so you don’t screw anything up, and dial down your brush size for the details you want / need.
Step 4 – Detail Pass 2
Once again, more detail. When in doubt of damaging what you’ve already accomplished, make a new layer. Now I can focus on the eyes and hair, no fancy brushes, just very small.
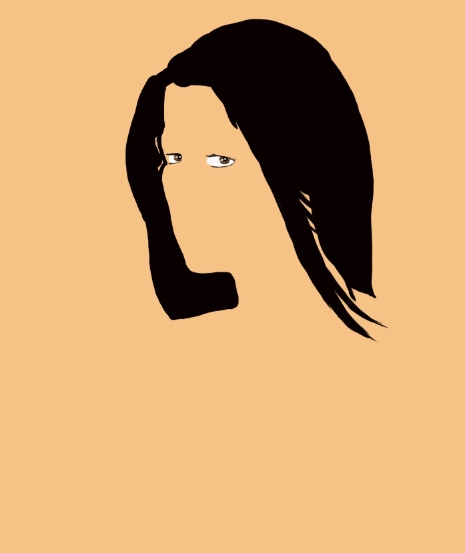
Step 4 - Detail Pass 2 Sexy Backless Dress
Step 4 – Detail Pass 3
Once again, NEW LAYER, set to NORMAL. Now I’ve made my brush opacity set to pen pressure, in addition to size. I’m picking up a few different lighter colors for highlights in the hair. And we press on…!
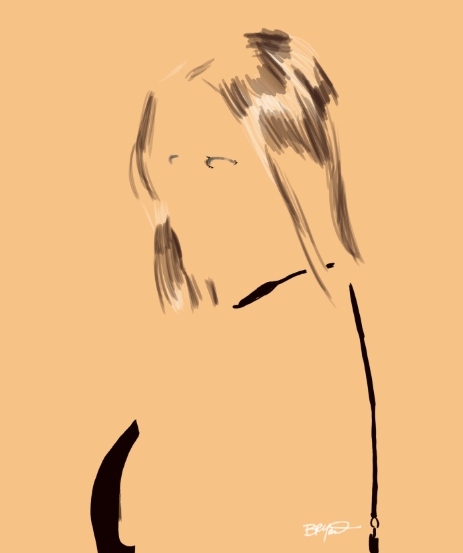
Step 4 - Detail Pass 3 Sexy Backless Dress
Step 5 – Background
Now’s the first time this session I grab a non-standard brush. I make so many custom brushes, I have an endless army of textures. I’ll detail in another post how to make and use custom brushes, but for now, find any interesting brush you’re comfortable with. Try turning on the shape dynamics, and textures. Also fiddle with DUAL BRUSH settings, letting you combine the nifty effects of 2 brushes. Next, take a standard round brush and make a layer mask around your subject. Load this selction so when you paint, it’s not over your subject, but AROUND it. Then paint away!
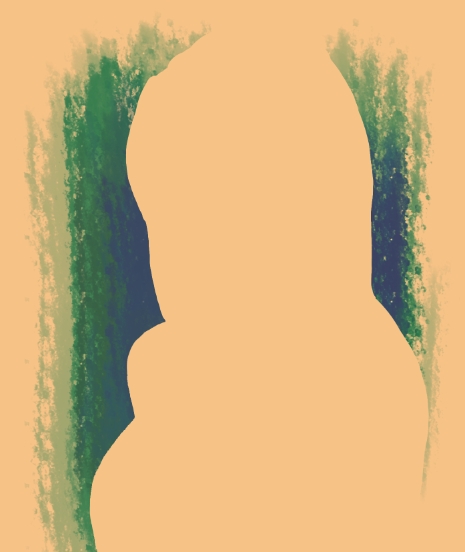
Step 5 - Background Sexy Backless Dress
Here’s all the steps side by side.
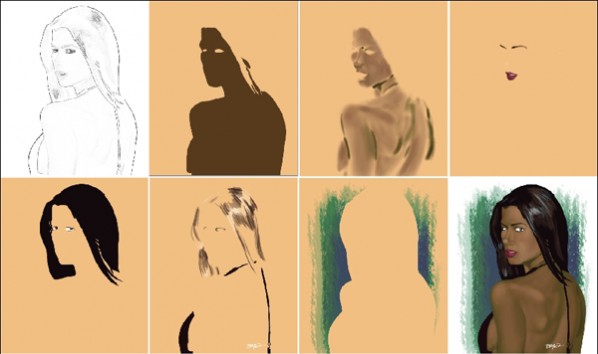
All Steps For Sexy Backless Dress Tutorial
FINAL STEP
A little trick I use for portraits is NOISE. The main problem with using digital airbrushes like Photoshop to produce paintings is that they tend to look TOO DIGITAL. An easy way to fix this (assume you’ve fixed everything else you can) is this.
1. Flatten Image
2. Duplicate Canvas
3. FILTER > NOISE > ADD NOISE>
4. Set this to something outrageous like 400%. This is going to look terrible, like colored static. You can choose to make this monochromatic if you like. NOW, change the LAYER OPACITY to about 3 or 4%. This adds almost imperceptible noise to the entire image. You can use your erase to lighten the noise where it’s too obvious. You can also use the blur too to soften the noise, or simply lower the opacity. Either way, the noise ‘tones down’ the digitalness of the painting, looking more natural. Experiment.
Now you’ve got your very own, sexy babe. But wait! There’s more. Once you are comfortable with simply duplicating, try adding your own touches.
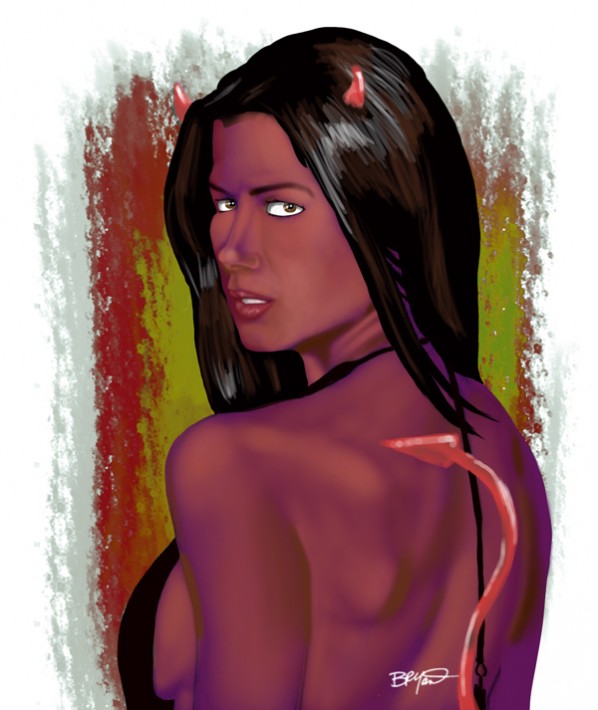
Red Devil Woman Variation Sexy Backless Dress
Finishing touches can make a big difference. Find your color layers and adjust them for interesting effects. Make a new layer for new details and you have a devilish gal!
Cheers,
BRYant
More Cartoons Like This:
- Sexy Blonde Woman Yellow Dress Sexy Blonde Woman Yellow Dress Today’s doodle is an...
- Easy Come Easy Go Easy.com Easy.go...
- Last Piece of the Puzzle Sitting down for my daily toon, i scribbled an artist...
- Call of Duty Modern Warfare 2 Gamer Calls in Sick Yay! Xbox Call of Duty 4: Modern Warfare went...
- Dress for the Job You Want! Dress for the Job You Want! It is said...


